Virtual machine installation
Download the latest ATLAS Open Data VM

This is an Ubuntu 18.04.3 LTS with:
-
ROOT 6.18 (configuration all)
-
Jupyter (bash, python2, python3, ROOT C++ kernels)
-
Extras TensorFlow + demo git repos
-
Cite with

-
The password of the VM is root (also to be
sudo)
Check our ~9 min video tutorial to don't miss any detail
Detailed instructions
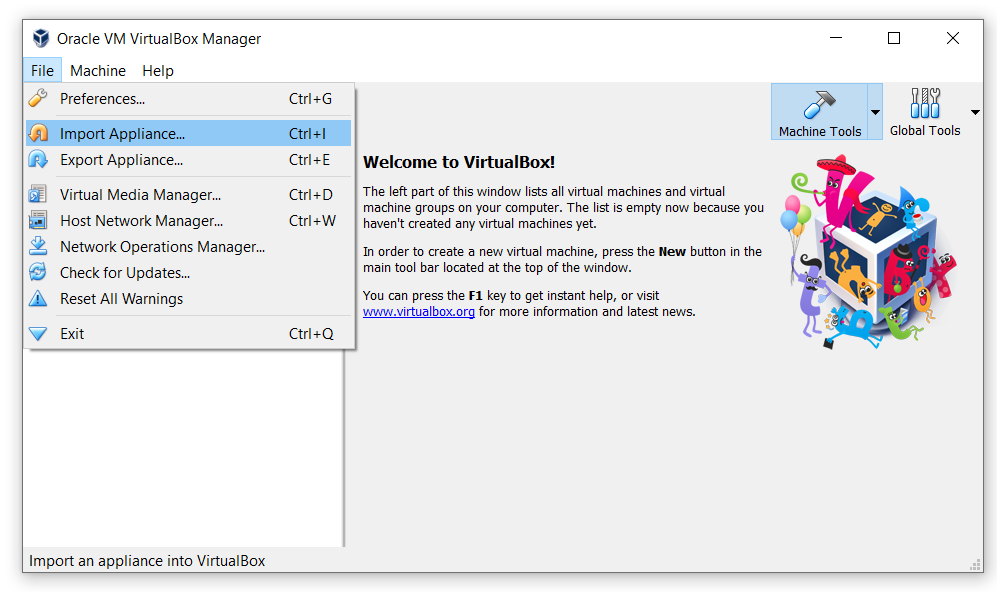
- After you downloaded the VM file, start the VirtualBox. Go to the menu "File" -> “Import Appliance...” (or perform the same function with the combination of buttons: "Ctrl" + "I").
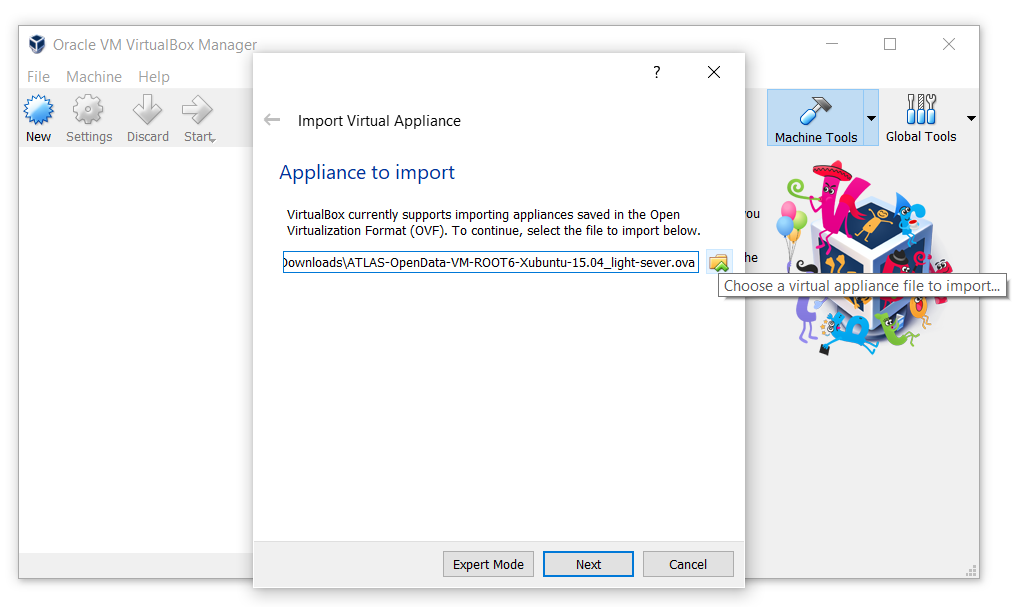
- In the window, select the downloaded ".ova" file from the Downloads folder and click "Next":
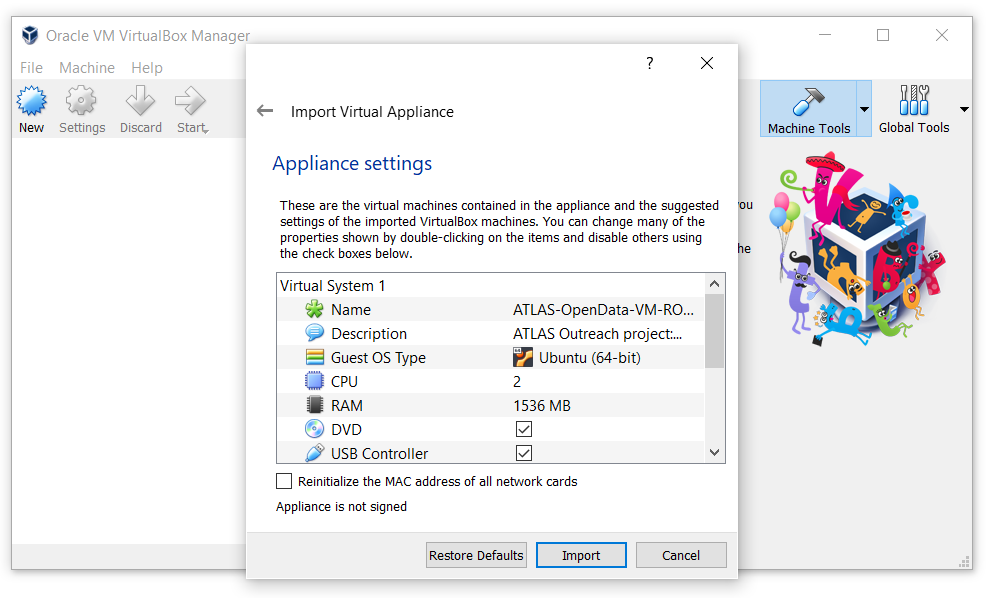
- Click "Import" without any changes:
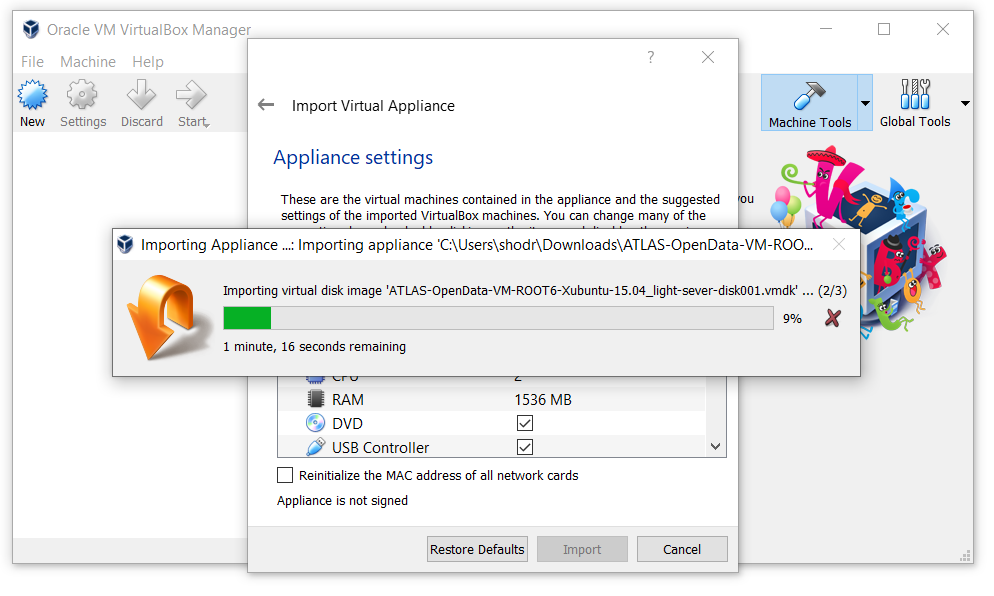
- The operating system should begin importing:
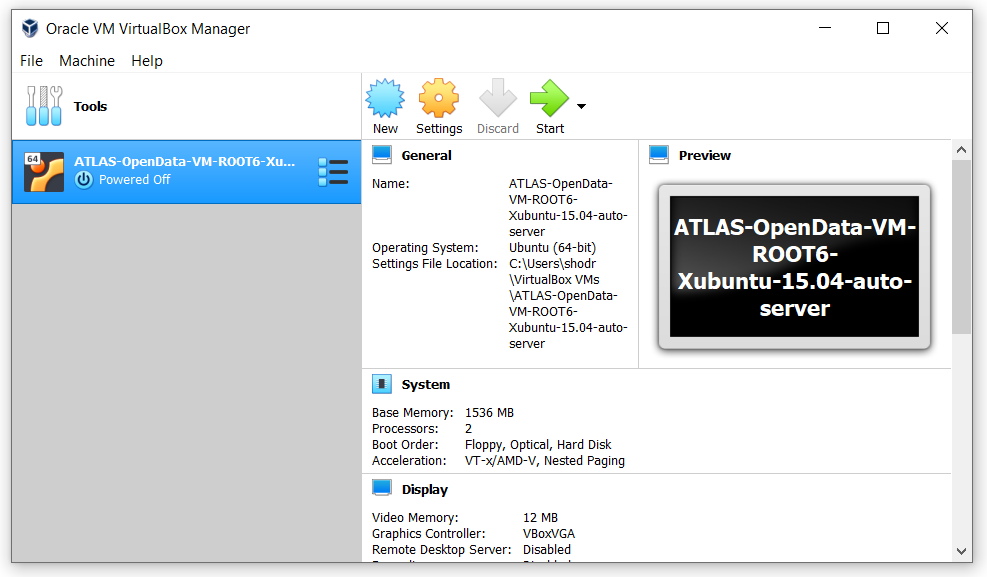
— Now your Virtual Machine with Ubuntu-Linux operating system is ready, start it by clicking  and use:
You may come across issues with hardware virtualisation. Some computers have virtualisation disable by default.
If you do, and due to the various manufacturers, the best is to Google something like:
"how to enable virtualisation in [insert name and model of your computer]".
For example, here is a solution for Lenovo. Enable virtualisation:
- Boot systems to BIOS with the F1 key at power on.
- Select the Security tab in the BIOS.
- Enable Intel VTT or Intel VT-d if needed.
- Once enabled, save the changes with F10 and allow the system to reboot.
Download the latest ATLAS Open Data VM
This is an Ubuntu 18.04.3 LTS with:
-
ROOT 6.18 (configuration all)
-
Jupyter (bash, python2, python3, ROOT C++ kernels)
-
Extras TensorFlow + demo git repos
-
Cite with
Previous VM demo on how to run the VM
Take a look to this video on how to get and run some notebooks and framework in your computer
Information: If you want to install your operating system (in this case Ubuntu) from scratch, then see how to do it in this section.