Phoenix for Event Visualisation
Visualizing an event inside the detector opens a path to a deeper understanding of the physical processes resulting from a collision. One commonly used tool for event visualisation is Phoenix, a framework that allows 3D visualisation of collision events inside the detector.
The event in the image above is an event for gluino production, which in SUSY is the supersymmetric partner of a gluon.
You can display any event of your choice by using the open data available in PHYSLITE format, and the process to do so is explained below:
Transforming Datasets into JSON
Phoenix accepts data in multiple formats. We will focus on the JSON format. To create the JSON from a PHYSLITE, HION14, or NTuple file, we provide a python script:
The following are instructions to run the script online in MyBinder, but you can run it in any python enviroment were you are able to configure the environment.
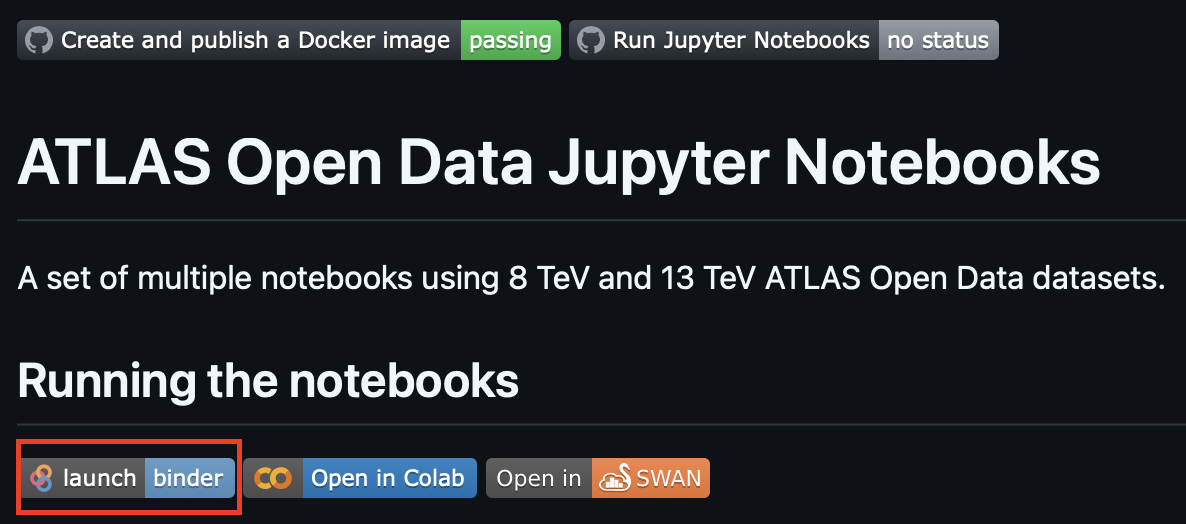
- Open the repository in MyBinder: In the README of the repository click on the "lauch binder" button.
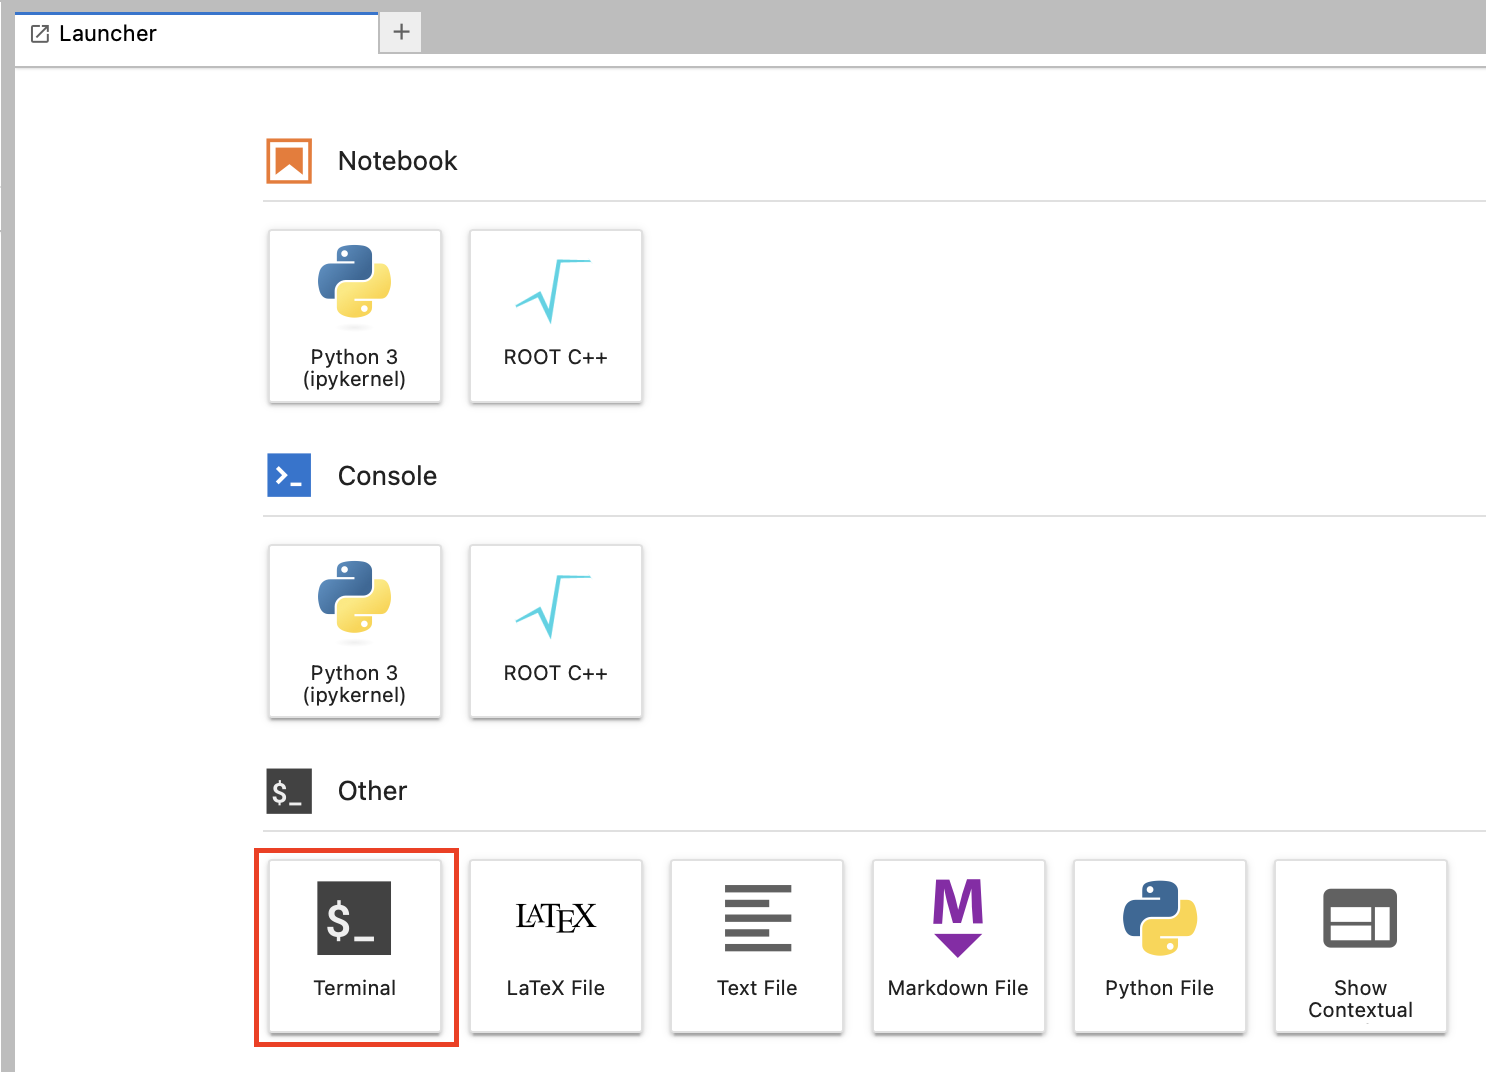
- Open a terminal: in MyBinder you can open a terminal in the land page.
- Download a PHYSLITE, HION14, or NTuple file: The datasets can be found in the CERN Open Data portal, and the instructions on how to search for datasets are in How to access the Data. To download the file directly from the terminal you can use
atlasopenmagicto get the URL of the file.
python
import atlasopenmagic as atom
atom.geturls('data',protocol='https',cache=False)[0]
With [0] we get the first subset of the detector data, but you can search for any dataset you are interested in. From these commands you should get:
https://opendata.cern.ch/eos/opendata/atlas/rucio/data15_13TeV/DAOD_PHYSLITE.37001626._000001.pool.root.1
Use exit() or Ctrl+D to exit the python interactive session. Now you can download using wget and the URL we just retrieved:
wget https://opendata.cern.ch/eos/opendata/atlas/rucio/data15_13TeV/DAOD_PHYSLITE.37001626._000001.pool.root.1
- Set up the environment: The environment file is under
/for-research/phoenix. We will use conda to create the environment and activate it:
cd for-research/phoenix
conda env create -f environment_phoenix.yml
conda activate phoenix
This environment doesn't include atlasopenmagic which means that once you activate it you won't be able to use the previous approach to get the samples from within the enviroment. You can deactivate the phoenix environment with conda deactivate, and activate it any time with conda activate phoenix.
-
Run the script: To see the options of the script, you can run
python get_json_phoenix.yml --helpAnd you will see the options for running:
usage: write_simple_json.py [-h] [-n NEVENTS] [-s NSKIP] [-o OUTPUTFILE]
                            [-l EVENTLIST]
                            filenames

Writes events in simple json format for the Phoenix event display

positional arguments:
filenames             Comma-separated list of files for processing

optional arguments:
-h, --help            show this help message and exit
-n NEVENTS, --nEvents NEVENTS
                        Number of events to run over (default 10)
-s NSKIP, --nSkip NSKIP
                        Number of events to skip (default 0)
-o OUTPUTFILE, --outputFile OUTPUTFILE
                        Name of output json file (default my_events.json)
-l EVENTLIST, --eventList EVENTLIST
                        File containing run/event number pairs for outputting
For example, with the file we retrieved it would look like this for 20 events:
python get_json_phoenix.py ~/DAOD_PHYSLITE.37001626._000001.pool.root.1 -n 20After running, you should have
my_events.jsonin the folder where you ran the script, which now can be uploaded to Phoenix.
You can open your own files in Phoenix using the file upload dialog (third, right to left, in the figure below)

After that, you should see your event!
For more information about the use of Phoenix, see the Phoenix User Guide.
JSON examples
If you would like to explore more event types, we have provided JSON files for various physics processes. You can download these JSON files and open them in Phoenix to visualize the events.
- Top Quark Events
- Weak Boson Events
- Jet Events
- Higgs Events
- Exotic Processes
To view these events:
- Download the JSON file: Click on the link corresponding to the event you are interested in and download from GitHub.
- Open Phoenix: Launch the Phoenix event display in your web browser or use the embedded one above.
- Upload the JSON file: Use the file upload dialog (third icon from the right on the toolbar) to upload the JSON file.
- Visualize the event: The event will be displayed in Phoenix, allowing you to explore the detector interactions.